How to

How to Master Blush Draping

blush draping

How to master blush draping

As heavy contouring begins to fall out of favor, makeup trendsetters are starting to play around with their blush placement. Bringing the 70s trend back, more and more people are opting to put blush where you put contour.

From red carpets to your For You Page, blush draping is the next big thing when it comes to new makeup trends.

Here’s everything you need to know about how to contour with blush. Read on for your new go-to blush draping tutorial.

Shop Blush

What is Blush Draping?

Blush draping is a blush technique that was popularized in the 70s and is experiencing a new found revival.

Think Rihanna at the 2017 Met Gala – blush draping is essentially contouring with blush, that leaves cheekbones defined and adds a burst of fresh color to enhance the shape of your face.

Rather than applying your blush to the apples of your cheeks, blush is applied along the cheekbones, all the way up to your temples, often blended into your crease to frame the eyes.

This blush placement emphasizes the natural contours of your cheekbones and lifts for a flushed, sculpted glow.

Where Did Blush Draping Come From?

Blush draping is an old-school technique, created by Cher’s makeup artist, Way Bandy. Coined by Bandy as “color glow,” the blush application enhances your natural features and gives the illusion of higher and sharper cheekbones while adding a pop of color for a seriously on-trend makeup look.

How to Drape Blush

Ready to get the TikTok makeup look everyone’s going crazy for? Checkout our 5-step blush contouring guide and learn how to drape blush like a pro!

Step 1 – Apply Your Base

After prepping the skin as normal, apply your FOUNDATION and CONCEALER. A clean finished makeup base is essential as this acts as the glue for the blush draping makeup technique.

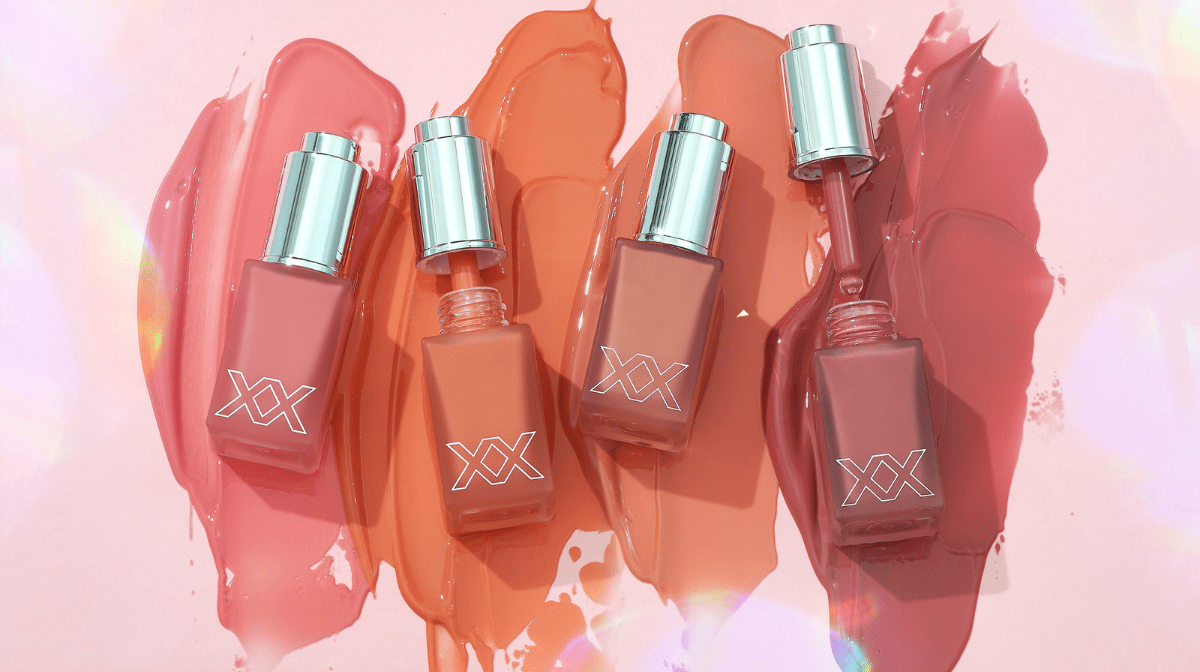
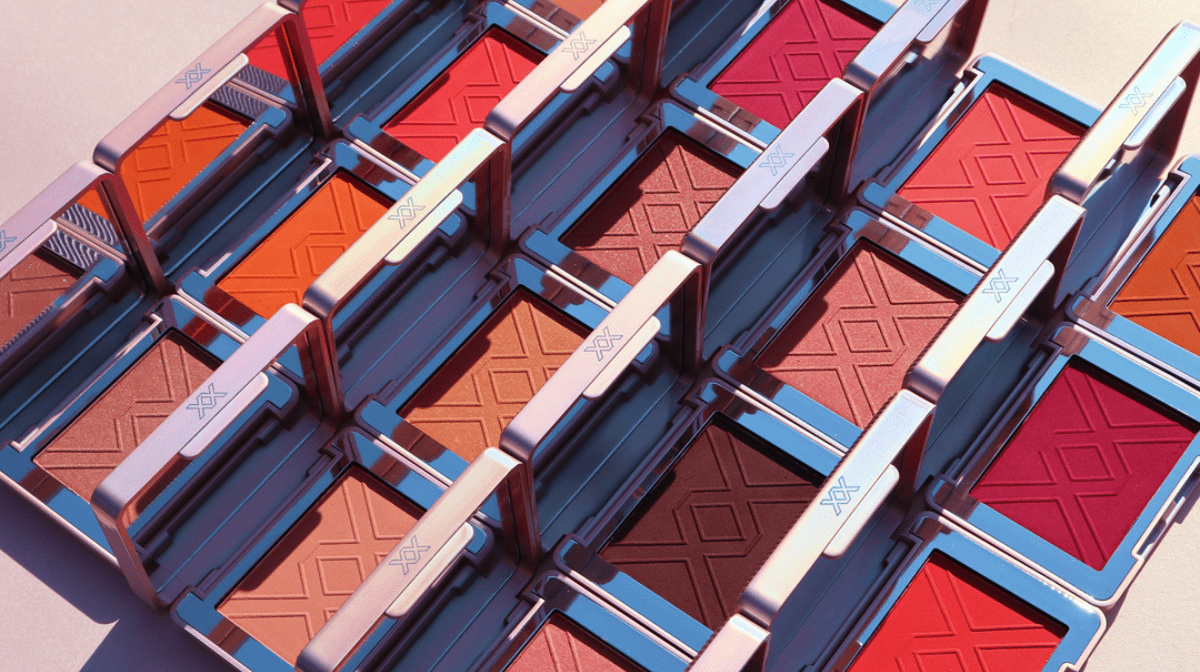
If you’re after a full-coverage base that won’t budge, without feeling heavy on the face, reach for our CONCEAL & DEFINE range. With 60 skin-true shades, ranging from fair to deep this versatile collection is designed to suit every skin tone and type.

If a more lightweight base is your kind of thing, opt for our Conceal & Hydrate range. A hydrating collection of concealers and foundation, the CONCEAL & HYDRATE range comes in 50 shades and is infused with plumping Hyaluronic Acid to smooth the skin for a satin finish.

Step 2 – Choose Your Blush

Whether applying the blush draping technique to a day or night look, it is essential that you choose the right blush tint for your skin type.

Achieve a sun kissed glow by using a warm peach shade like our BLUSH BOMB CREAM BLUSHER in Peach Filter.

Make a bold statement and hark back to the 80s á la Debbie Harry by draping your blush with our ultra-pigmented SUPERDEWY BLUSH in You Had Me At First Blush.

If it’s a natural my-skin-but-better kind of vibe, look no further than our BLUSHER RELOADED in the delicate shade, Ballerina. The velvety texture of this blush will add a slight shimmer to your cheeks, bringing contour, highlight and blush together in one sweep.

If you aren’t sure which color blush is best for your skin tone, discover our guide to the best blushers for the glowy, flushed look you’re after.

What Color Blush Should I Wear?

Makeup

What Color Blush Should I Wear?

Discover the best blush color to complement your skin tone!

2022-03-28 09:06:06By Revolution Beauty

Step 3 – Start Blushing

Now for the main event: where to put blush to get that signature blush draping effect? Similar to how you apply contour, start by lightly applying your blush along the cheekbones in a C-shape – with a MAKEUP BRUSH if you’re using powder, or a MAKEUP SPONGE if using cream.

How To Use Makeup Sponges

How to

How To Use Makeup Sponges

If you’re not a makeup sponge convert yet, you soon will be!

2022-07-04 08:18:29By Revolution Beauty

Bring the blush under the cheekbones for a sharp, sculpted look, before moving up to the temple area, using light C-shape motions, building the color up towards the outer edges of the face to create a smooth gradient effect.

Step 4 – Blend the Blush Up into the Crease

Take a small, fluffy blending brush and sweep the same shade you used for your face, into the crease bone, before blending out into the temple for a super-quick and easy monochromatic makeup look.

If you’re after a more natural look you can absolutely forgo this step. For a bold look, sweeping your blush shade up into the brow bone is must!

Step 5 – Set Your Makeup

Now you’ve spent all this time carving out the perfect draped blush look, the last thing you want is for your makeup to shift or wear away throughout the day. Make sure your makeup lasts all day long with a SETTING SPRAY.

How to Make Makeup Last All Day

How to

How to Make Makeup Last All Day

Discover how to prep, prime and set for long lasting makeup and a flawless finish all day long!

2022-04-19 08:25:40By Revolution Beauty

Give blush draping a try and don’t forget to share your snaps with us @MAKEUPREVOLUTION.

Shop Blush


Revolution Beauty

Revolution Beauty

Writer and expert