

Often termed as ‘no-makeup makeup’, a paired-back beauty regime has gained immense popularity in recent years for its ability to enhance one’s features while maintaining an un-done, effortless appearance.
The goal is to highlight your natural beauty, rather than masking it with heavy layers of products.
Whether you’re a makeup novice or looking to simplify your beauty regimen, this guide will walk you through how to do natural makeup for a fresh and radiant finish.
What is Natural Makeup?
When we think of natural makeup, we think ‘versatile’. It’s the perfect look to take you from day to night, without feeling underdone.
Envision fresh-faced, glowy skin with a healthy flush, undone brows and flattering neutral shades on the eyes and lips.
Sound good? Here’s how to do a natural makeup look.
What Do I Need for a Natural Makeup Look?
Wondering what needs to be on your natural makeup checklist? Here are our must-haves:
- Primer
- Light-coverage base
- Concealer
- Bronzer
- Cream blush
- Liquid highlighter
- Tinted brow gel
- Mascara
- A hydrating lip product
Our Natural Makeup Tutorial
Ready to master going minimal? Follow this step-by-step natural makeup tutorial for a glow-boosting, radiant look.
Step 1: Prime the Skin
Once you’ve completed your skincare routine, it’s time to prime.
A primer acts as the base for the rest of your products, smoothing out the skin’s texture and helping to ensure that your makeup lasts longer.
Traditionally, primers are applied under foundation, but if you want a lightweight, ‘second skin’ finish, they can be used alone for a super glowy look.
How to Apply: Apply a dime-sized amount onto your fingertips and massage into the skin.
Step 2: Apply a Light-Coverage Base
If you’re not ready to brave a totally bare face, we recommend using a lightweight foundation with a sheer finish.
The essence of natural makeup lies in showcasing your skin rather than masking it. A light-coverage foundation or tinted moisturizer can help to even out your skin tone while letting your natural complexion shine through. It’s all about enhancing, not hiding.
How to Apply: Apply sparingly using a dampened beauty sponge for subtle coverage or build for that second-skin effect.
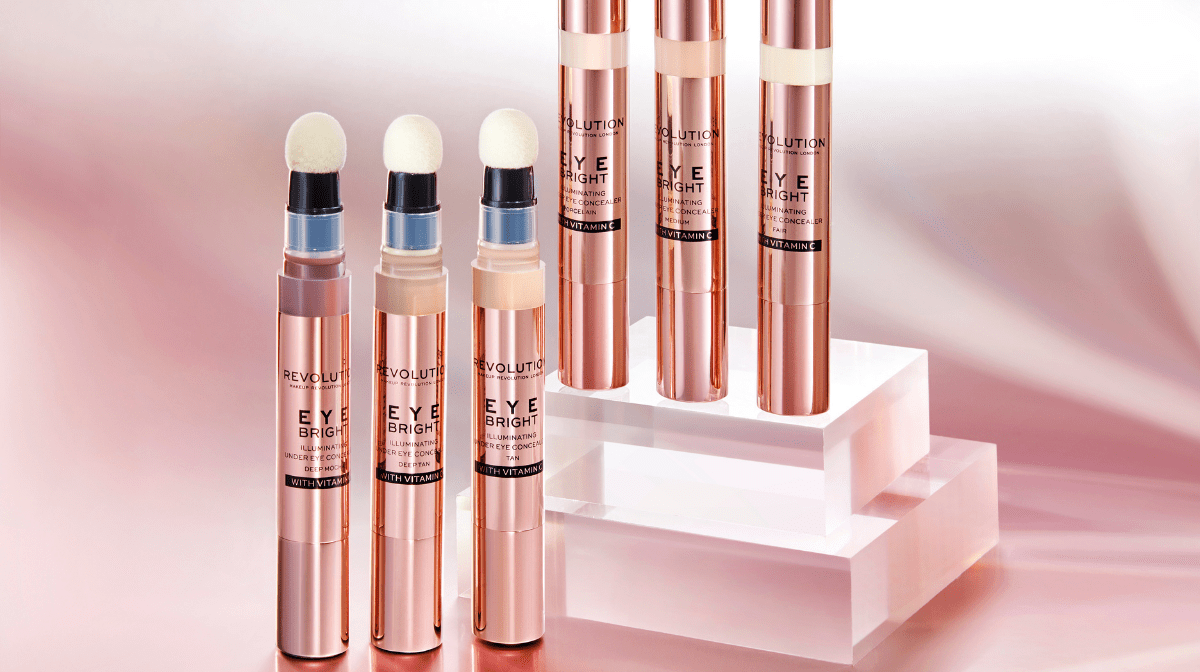
Step 3: Only Conceal Areas That Need It
Even with a great skincare routine, we all have days with dark circles or the occasional blemish.
A lightweight concealer allows you to target these areas without adding unnecessary weight to your makeup, maintaining a fresh and natural look.
This is why we recommend only placing concealer in the areas you really need it, be that under your eyes or on a blemish.
Choose a light to medium formula that is buildable. This will allow you to customize your coverage and touch-up as many times as you please.
How to Apply: Add a couple of dots to the areas you think need it the most. Blend using a clean finger or a concealer brush.
How To Conceal Dark Circles Under Eyes
Banish those eye bags with our top tips for covering up dark circles!
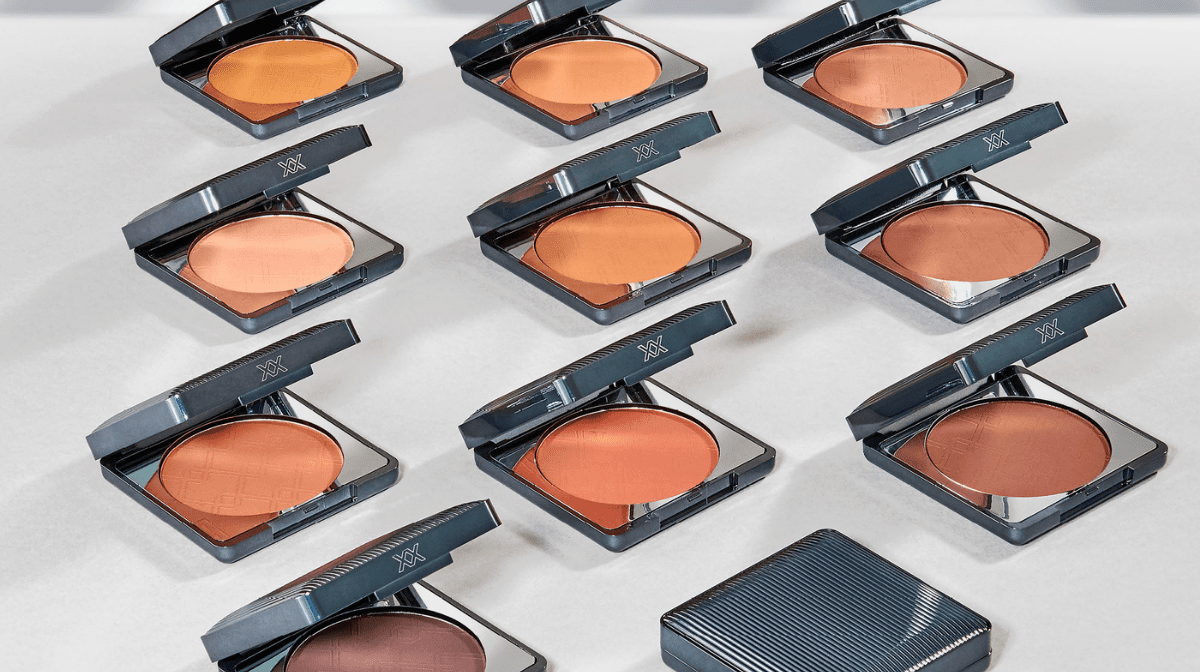
Step 4: Use Bronzer to Warm Up the Complexion
Bronzer adds warmth and dimension, giving your skin a sun-kissed glow that mimics a natural tan.
A cream formula could offer super blendable application and a dewy finish that will leave the skin glowing.
How to Apply: Add it to areas where the sun naturally hits your face, such as the forehead, cheekbones, and jawline to help create a subtle, healthy-looking radiance.
Expert Tip: Dip a fluffy eyeshadow brush into your bronzer and gently swipe a small amount over your eyelids. This allows you to add some depth to your eyes, without over-complicating your look.
How to Apply Bronzer for a Sunkissed Look
Live your dream bronzed babe life with our guide to how to apply bronzer and discover which is the best bronzer for you to get that golden glow!
Step 5: Get That Natural Flushed Glow
Next, it’s time to achieve a natural-looking rosy flush.
We recommend a cream blush and highlighter for the most natural, dewy finish. Formulated to blend seamlessly into the skin, these products melt into your base for an effortless finish in just a few swipes.
While blush adds a healthy flush of color to the complexion, highlighter works to subtly enhance your facial features and give you that soft glow you’ve been dreaming of. Together, they’re a match made in heaven!
How to Apply: Add blush to the apples of your cheeks and blend out across your cheekbones. Then, apply highlighter to the high points of the face.
Step 6: Subtly Shape the Brows
Brows frame your face, and a tinted brow gel enhances their shape in a more natural way than pencils or powders.
By lifting the hairs upwards, the product gives them a fuller-looking effect, which could work particularly well on sparse or fair brows.
When dry, the gel will help to keep them in place throughout the day, reducing the need for touch-ups.
How to Apply: Brush upwards with a brow gel to enhance the natural shape of your eyebrows and keep them in place all day.
Step 7: Define the Lashes
Don’t forget to finish the look with a lick swipe of your favorite mascara – this will help your eyes to appear larger and more awake.
For the most natural look, we suggest choosing a curling mascara to enhance and open up the eyes without adding too much volume, which could detract from your minimalist vibe.
Opt for a mascara with a curved wand to lift and define the lashes.
How to Apply: Place the spoolie at the base of the lashes and pull it through to the ends. Repeat twice to coat them thoroughly but avoid caking them in too much product.
Step 7: Finish with a Hydrating Lip Product
Complete the look with a hydrating lipstick or gloss in a soft, neutral shade. Choose a color that enhances your natural lips and adds a subtle shine.
A sheer lip color is a great way to add a subtle pop of color and glossy hydration. Pink or coral shades may add the perfect, natural-looking flush of color to complete your look.
How to Apply: Simply glide the product over your lips and press them together to ensure an even application.
This makeup style is all about enhancing your features and embracing your natural beauty. By following this simple step-by-step guide, you’ll be able to keep your routine as minimal as possible and achieve a fresh and radiant appearance without looking overdone.
Explore our range of makeup today to find the perfect products for your natural beauty regime.